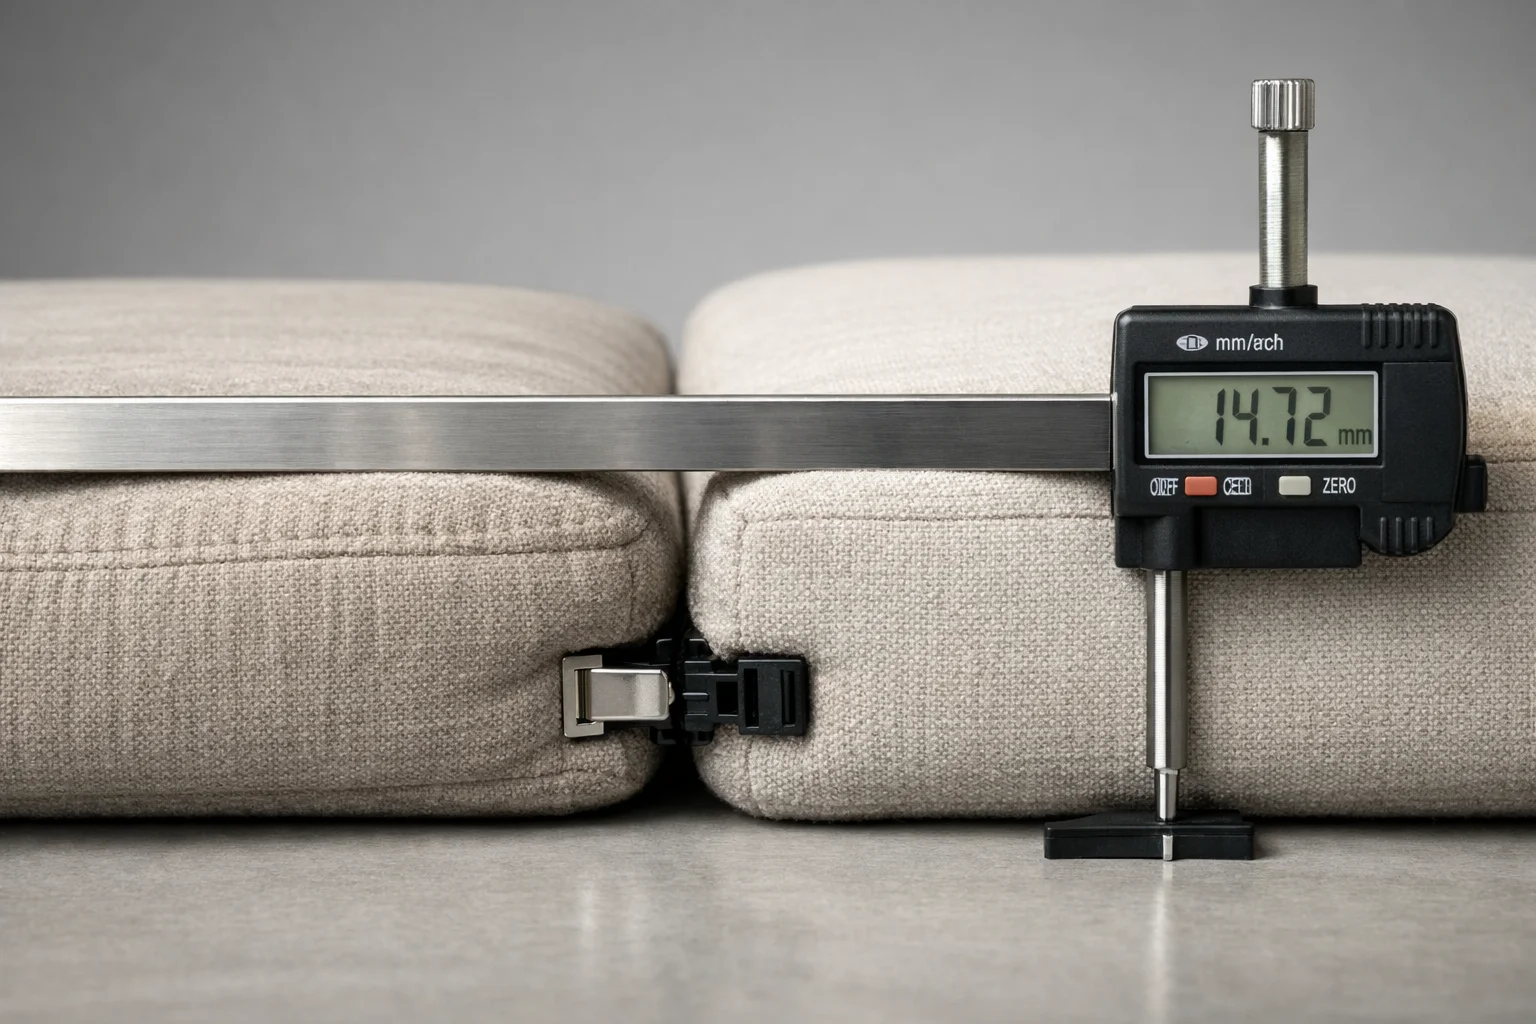
Foldable Floor Sofa: The 3 Core Failure Points
Introduction
When a floor sofa folds instead of sitting on a wood frame, you dodge a whole category of problems I have seen in regular sofas. You are not going to get that familiar creak from loose corner blocks, and you are not going to watch a rectangular frame slowly twist out of square because someone sat hard on one arm.
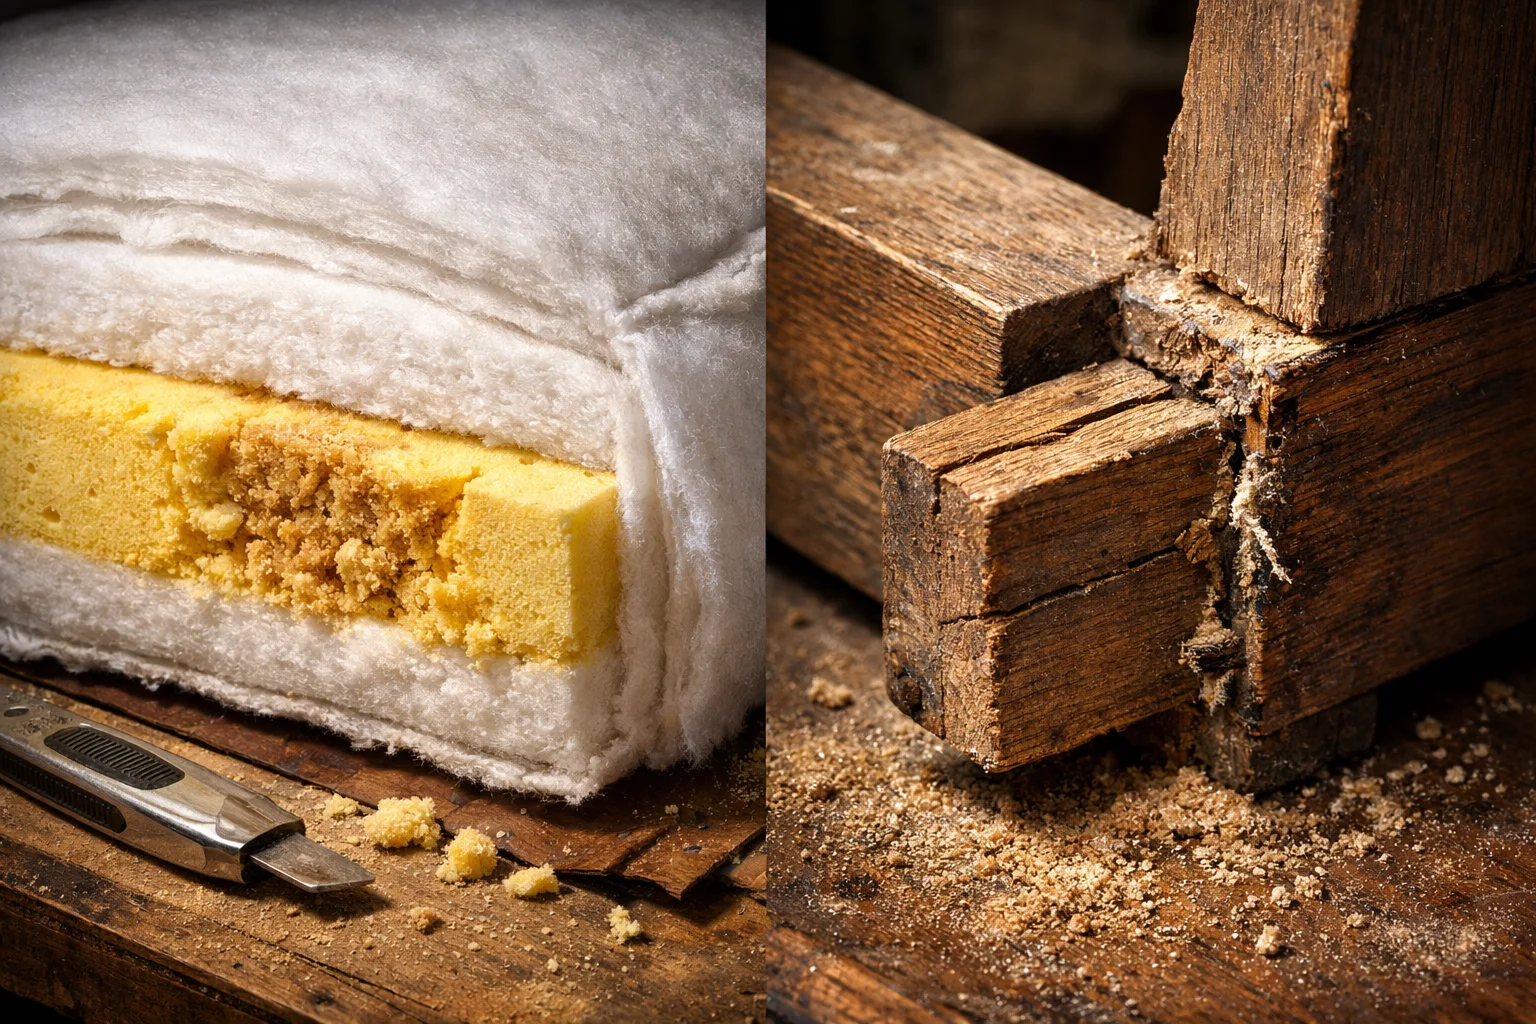
The tradeoff is that the weak points move. On these, the structure is basically fabric, stitching, foam, and whatever hinge or segmented core lets it fold, so the failures tend to be mechanical and sneaky.
What worries me most is how progressive the damage can be. The cover fabric can start to stretch at the fold lines, the seams can begin to fatigue, and the foam can start to collapse internally, and you often will not notice until one day a seam pops, a panel tears, or the “seat” suddenly feels like a bad mattress.
So when you shop, I want you thinking less like you are judging a couch frame and more like you are judging a backpack or a pair of jeans. Put your hands right where the sofa folds, squeeze and bend those areas, and look closely at the stitching. If the fabric looks already shiny, rippled, or permanently creased on a brand new showroom piece, that is your early warning that the material is going to be the limiting factor.
I also want you to treat foam as a wear item, not a forever component. Sit in the same spot for a full minute, then get up and watch how quickly it rebounds. If it stays dented, rebounds slowly, or feels like it is bottoming out onto something firmer underneath, I would assume it will get worse fast once it is in your home.
The frustrating part is that these problems can stay invisible until they suddenly are not, so the best buying move is to interrogate the folding points and the cover construction right in the store. If the salesperson only talks about how “it has no frame so it will not break,” I take that as a sign to start asking about the fabric grade, seam reinforcement, and whether the cover is replaceable, because those are the parts that usually decide how long you will actually enjoy it.
1. Seam Shear (The Hinge Failure)
The fabric hinge between two foam blocks is the highest stress spot in the whole piece, and it is the first place I put my hands in a showroom. Every time you fold and unfold it, the outside of that bend has to travel farther than the inside, so the cover is being asked to stretch a lot just to let the sofa do its basic job.
What that means for you is simple, the seam at the fold is not just “a seam,” it is a moving joint. If the maker uses a basic single stitch line right on the fold, the thread is repeatedly pulling like a little wire on the edge of the fabric, and over time it can literally cut its way through. You might see it start as a faint widening along the stitch holes, then it turns into a visible gap, then the seam pops.
When you are in the store, do not just look at the hinge, pinch the fabric right next to the seam with both hands and tug it sideways, not along the seam but across it. If you can make the stitch holes open up and you can see daylight between the threads and the fabric, I would assume it will get worse quickly at home, especially if anyone will be folding it daily.
Then look for how they reinforced that hinge. I like seeing a wide fabric gusset at the bend because it spreads the stretch over more material instead of concentrating it on one stitch line. I also feel better when I see a “box and X” style reinforcement or any obvious multi row stitching pattern that is not just one straight line, because it tells me the brand knows that area is a joint, not decoration.
Pay attention to the materials pairing, too. If the upholstery feels like a cottony canvas but the thread looks shiny and plastic, that mismatch can be a bad sign, because the harder thread can act like a saw on a softer woven fabric when it is repeatedly tensioned. You do not need to memorize fiber science, you just need to notice when the fabric seems soft and the stitch line seems sharp and tight.
My last check is visual, I bend the hinge as far as the display model allows and look for rippling, puckering, or a permanently creased line forming right at the seam. If it already looks stressed in a showroom, I treat that as proof, not a maybe, because your home will put far more cycles on it than the store ever will.
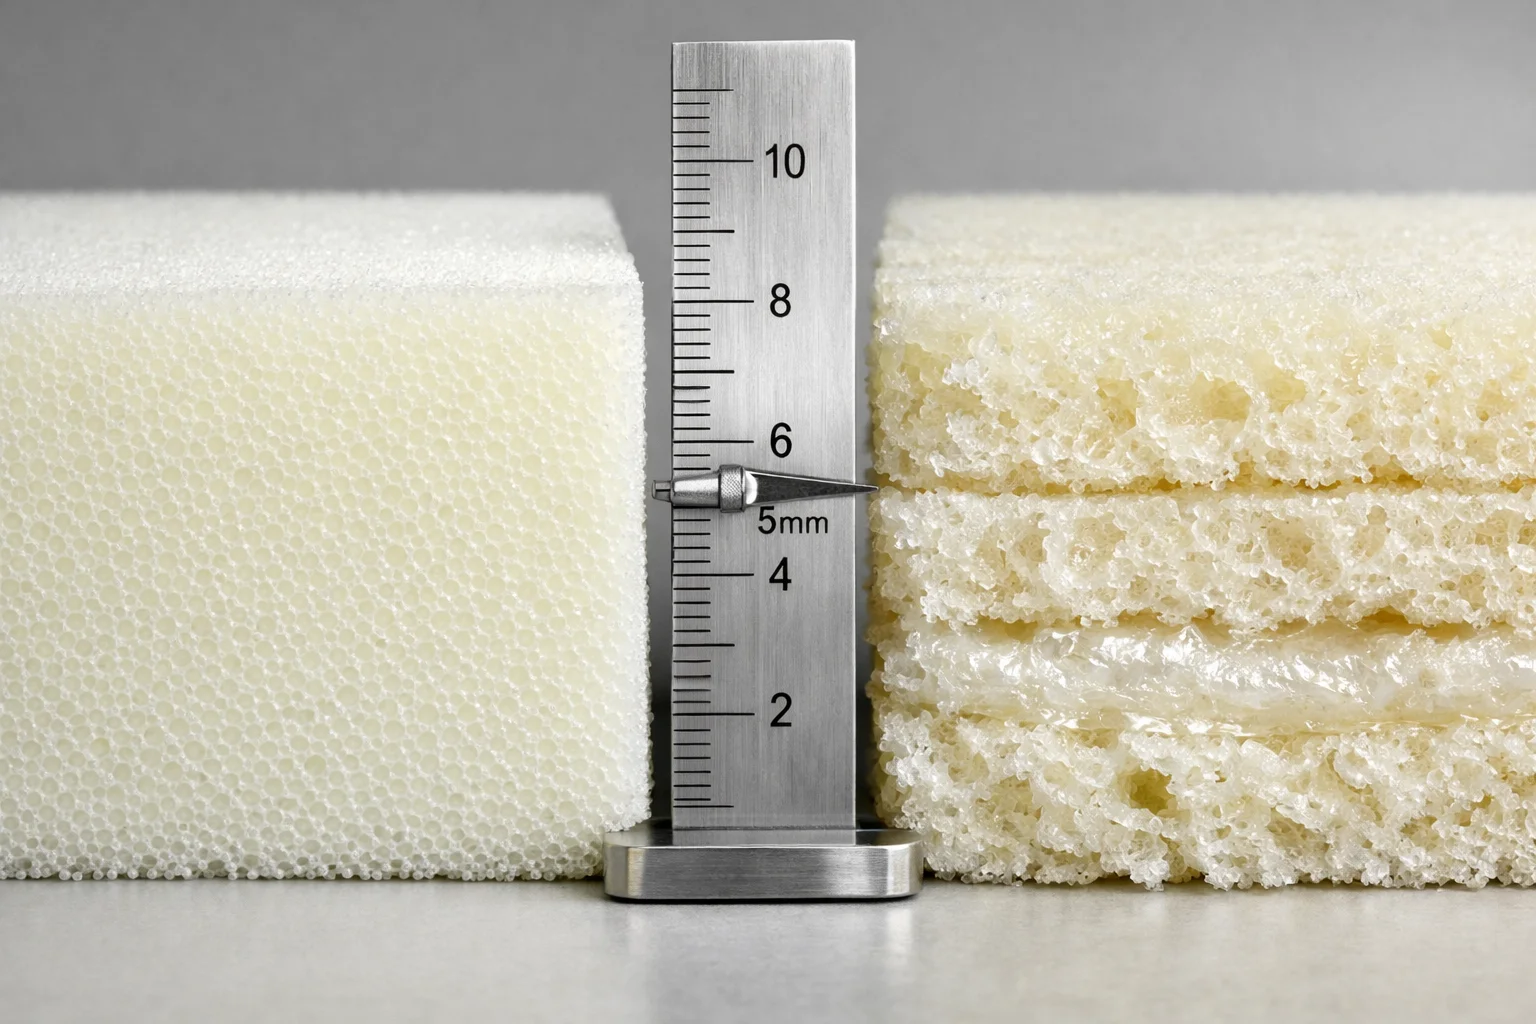
If you are looking at any sofa that has a moving lid, a storage deck, or a hinged platform, I want you to assume the hinge hardware will be the first thing to announce itself, usually with scraping, a sudden thud, or that gritty feeling when you lift.
In the showroom, I put my hand on the hinged panel and I lift it slowly while watching the gaps on both sides. If one side closes earlier, or the panel drifts toward the back and kisses the frame, that is how you get those rub marks and chipped upholstery over time, even if everything looked fine on day one.
Then I listen and feel for “dry” movement. If the pivot points feel sticky or you hear a little squeak, it is not a dealbreaker by itself, but it tells me the maker did not bother to make the motion forgiving, and you are going to be the one living with the noise as dust and wear build up.
I also check the hinge plate and bolts like I am checking a door hinge at home. I wiggle the lifted panel side to side very gently and see if the hinge plate shifts, because a tiny amount of looseness turns into alignment problems later, and alignment problems turn into rubbing, thuds, and torn fabric right where you cannot easily patch it.
If you are seriously considering the piece, ask the salesperson a very plain question, “If this starts scraping or thudding, is this hinge meant to be tightened and serviced, or is it basically sealed and disposable?” I have found that brands that expect service will have accessible fasteners and a straightforward way to re tighten, while the ones that do not will act like the hinge is not a real part, until it is.
At home, the early warning sign is change. If it used to lift smoothly and now it needs a little extra force, or it suddenly makes contact at one corner, do not keep using it hoping it will wear in, because that is how a small shift turns into permanent damage. I would rather you catch it when it is just a couple of bolts and a little lubrication than when the panel has chewed a groove into the frame and the fabric.
2. The “Balloon Effect” (Zipper Blowouts)
This is one of those failures that feels ridiculous when it happens, because nothing looks “broken” until the moment the zipper gives up. When you sit down on a big foam block, you are basically compressing a pillow full of air, and that air has to go somewhere.
If the cover fabric does not breathe much, think vinyl, faux leather, heavy canvas, or anything with a backing, the air cannot seep out through the upholstery. It rushes toward the easiest exit, which is usually the zipper opening, and that is how you get what I call the balloon effect, the cushion swells and punches outward right at the zipper.
What makes the blowout more likely is the combination of your weight going down and the foam rebounding back up as you shift. That rebound is springy, and it can shove hard against the zipper teeth from the inside, especially if you tend to “plop” down or if kids jump onto it.
In the showroom, I do a very simple test. I sit down firmly near where the zipper is, then I stand up and watch the zipper area while the foam re expands. If I see the zipper line bowing outward, or the zipper tape looks like it is taking tension like a belt, I assume that area is going to be living on the edge in real use.
Then I run my fingers along the zipper itself and I look at the ends. If the zipper stops look tiny, the stitching looks sparse, or the zipper ends are parked right on a corner where the cover is already stretched, I treat that as a weak design, because the ends of the zipper are where force concentrates when the cushion “pressurizes.”
I also check whether the zipper is doing a job it should not be doing. A zipper should close an opening, it should not be acting like a structural strap holding back foam. If the cover looks so tight that the zipper is under tension even when nobody is sitting on it, that is a bad sign, because the zipper teeth are being pre loaded every day of its life.
If you can get the salesperson to open a cushion for you, or if the piece has a demo zipper you can access, look for a real brand zipper and a size that feels substantial. I personally look for YKK, and I feel better when the zipper looks like a chunky molded plastic style rather than a dainty metal dress zipper, because metal ones tend to bind when the tape is being pulled unevenly, and that binding is how people end up yanking the slider and ripping the tape.
You can also protect yourself by looking for any way the maker lets air escape that is not the zipper. A cover that has a separate inner liner, a small vent panel, or even just a fabric that feels more breathable tends to “exhale” instead of ballooning, and that reduces the zipper being the only pressure relief point.
If you buy it, your best habit is boring but effective. Do not force the zipper closed by kneeling on the cushion and cranking it shut, and do not sit directly on the zipper line if the design puts it on a seating surface. If the zipper ever starts to feel gritty or resistant, stop and realign the cover and foam first, because the worst thing you can do is pull harder while the foam is pushing outward.
The early warning sign at home is a zipper that starts to creep open at the ends, or a zipper line that begins to wave instead of lying flat. If you catch it early, sometimes you can reduce the stress just by making sure the foam is seated properly inside the cover and the fabric is not twisted, but if the design is relying on the zipper to hold back pressure, it usually only gets worse with time.
3. Floor Grit Abrasion
This one is boring in the showroom and brutal at home. A floor sofa sits right on the ground, so every time you shift, scoot, or flop back, the bottom fabric does a tiny little slide against the floor.
The problem is what gets trapped under it. On hardwood and tile, one grain of sand or that gritty dust that comes in on shoes can turn the floor into sandpaper, and the fabric into the thing getting abraded.
What you will see first is not a dramatic rip. You usually get tiny pinholes in the base panel, then it turns into a thin worn patch, and eventually you start seeing the foam core peeking through from underneath, which is when the piece suddenly feels “cheap” even if the top still looks fine.
In the store I flip the edge up and look at the underside fabric like I am inspecting the bottom of a backpack. If it feels thin, papery, or loosely woven, I assume it is going to pinhole fast on a real floor, especially in a home where people drag it around to reconfigure it.
I also rub the bottom panel between my fingers and do a quick scratch test with my fingernail in an inconspicuous spot. I am not trying to damage it, I just want to see if the fibers fuzz up immediately, because that fuzzing is the start of wear that turns into thinning.
Then I look for any design that keeps the fabric from being the only “foot.” If there are real feet, a perimeter strip, a tougher skid panel, or even a replaceable bottom cover, I feel better, because it means the maker expects floor contact and is not pretending the underside will never matter.
If the floor model is sitting directly on the showroom floor, I also do a simple move. I put one hand on the top and I shift it an inch or two the way it will shift in real life, then I check whether it grabs and drags. If it drags reluctantly, that is when grit does the most damage, because the fabric is getting ground against whatever is under it instead of gliding over it.
At home, the best protection is to stop the grit from getting under there in the first place. I would not put a floor sofa directly on raw hardwood in a high traffic room and just hope for the best, I would treat a rug, a washable mat, or a low pile carpet as part of the purchase, because it acts like a sacrificial layer that traps dust before it becomes sandpaper against the base fabric.
If you already have a hard floor and you do not want a rug, your next best move is habit. I would vacuum the footprint area regularly, and I would occasionally tip the sofa and vacuum under it, because the grit that does the damage is often invisible until you see the wear.
The early warning sign is the underside starting to look fuzzy, pilled, or “polished” in a particular stripe, usually where you tend to scoot it. If you catch that early, you can often slow the damage way down by adding a barrier under it, but once you get pinholes, the fabric is already losing the fight and the foam is next.
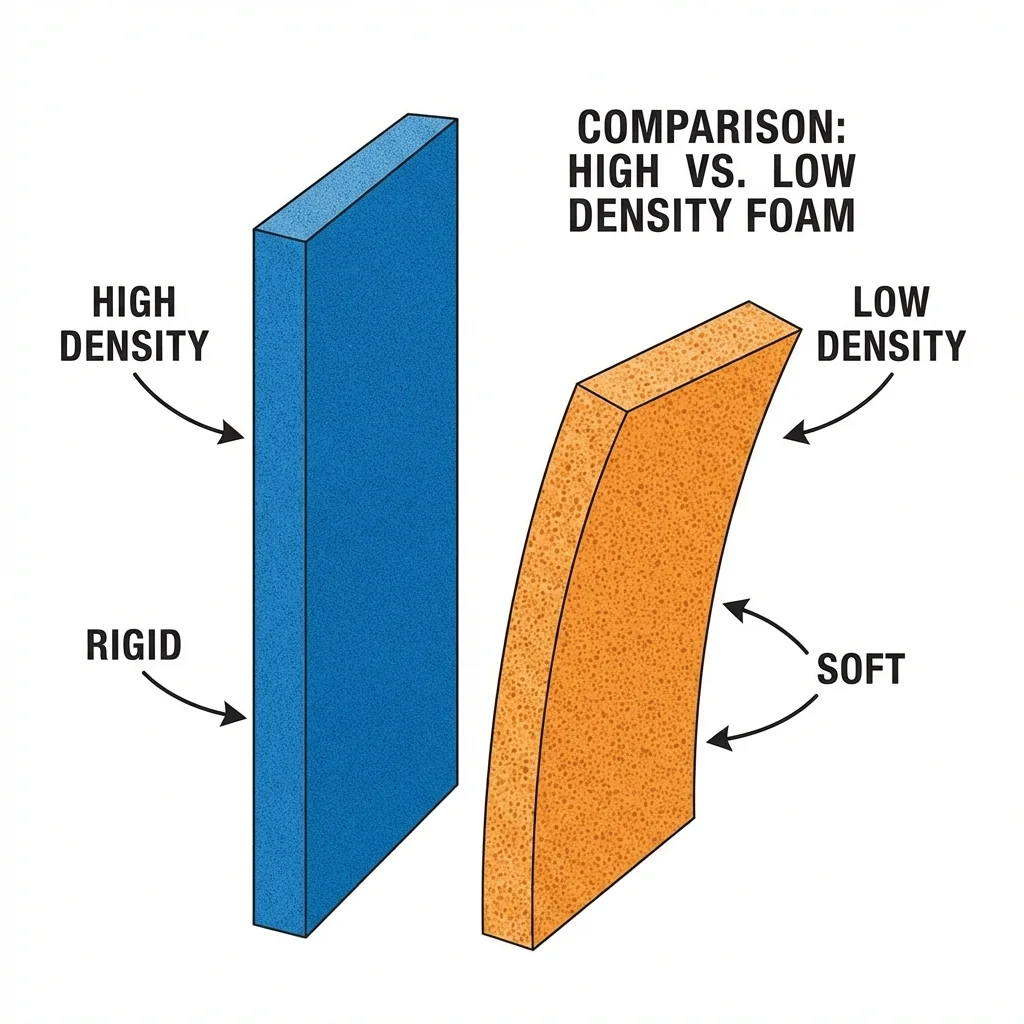
When you see zipper teeth separating like this, it is usually not because the zipper was “bad” in isolation, it is because the cushion was acting like a sealed bag of air and the zipper became the pressure relief valve.
In a showroom, I try to figure out whether the cover can exhale without using the zipper. I press down hard with my palm near the zipper, then I release and watch the zipper line, because a good setup stays flat while a bad one bulges and looks like it is trying to pry itself open.
I also pay attention to whether the cover material feels like it traps air. If it feels coated, backed, rubbery, or just stiff for its thickness, I assume the foam is going to push outward harder on every sit, and the zipper will take that load again and again until the slider can no longer keep the teeth meshed.
The most actionable thing you can do is inspect the zipper installation like you would on luggage. I look for a zipper that is recessed a bit instead of sitting on the most stretched “belt line” of the cushion, and I look for enough fabric on both sides of the zipper tape that the stitches are not right on the edge where they can tear out.
Then I check the zipper ends, because that is where blowouts often start. If the zipper stop is tiny, or the zipper ends right at a corner, or the stitching gets sloppy right where the zipper terminates, I treat that as a design that concentrates force at the worst possible point.
If the salesperson will let you, I like to unzip and rezip once, slowly, with no forcing. A zipper that already feels gritty, wavy, or reluctant on a brand new floor model is a zipper that is going to get yanked in real life, and yanking is how the teeth get damaged and the tape gets ripped.
What I personally want is a cushion cover that is not “drum tight” when nobody is sitting on it. If you can see the zipper line already under tension at rest, or the piping is pulled into a straight line like a stretched bowstring, I assume the foam is slightly oversized for the cover and the zipper is being preloaded every day.
If you end up buying a piece that is borderline on this, your best prevention is simple behavior. I would avoid sitting directly on the zipper line, and I would never close the zipper while compressing the foam with your knee to make it “easier,” because that trick just loads the teeth and slider while they are trying to mesh.
At home, the early warning sign I take seriously is a zipper that starts to wave, creep open at one end, or show a tiny gap in the teeth right after you stand up. If you see that, stop treating it like a cosmetic annoyance, because the next stage is often a sudden separation that looks exactly like the photo and is much harder to fix cleanly.
Maintenance Hack: The Rug Pad
Even if your floor looks clean to you, I still put a rubberized rug pad under a floor sofa, because the real damage comes from tiny, gritty particles you do not notice until the underside starts to look fuzzy or pinholed.The first benefit is that it stops the little slides. When the sofa can creep a fraction of an inch as you sit and shift, you avoid that micro grinding that turns one trapped grain of grit into sandpaper against the base fabric.
The second benefit is airflow. A pad creates a thin buffer so the bottom is not pressed perfectly flat to the floor, and that little bit of breathing room helps the foam and fabric shed moisture and heat instead of staying clammy underneath after long sitting sessions.
When you are shopping, I would literally ask to lift one corner of the display piece and feel what the underside is like, then imagine that fabric rubbing on your actual floor for a year. If the base panel already feels like the kind of thin black dust cover fabric you see under cheap couches, I treat a rug pad as mandatory, not optional.
At home, I like a pad that is rubberized and grippy, not a thick cushy carpet pad, because the goal is traction and a sacrificial layer, not more softness. If you are on hardwood, I also make sure the pad is the kind labeled safe for hardwood finishes, since some rubber and vinyl formulas can discolor certain finishes over time.
My personal rule is simple, if you can move the sofa with one hand and it “skates” easily, you need something under it. If it refuses to move and you have to drag it, you need something under it even more, because that stubborn dragging is exactly when grit does its worst work.
Pre-Failure Checklist
If you want to avoid the “it was fine yesterday” moment, I do a quick pre failure check that is less about deep cleaning and more about catching small changes while they are still cheap to deal with. These floor sofas usually give you a few visual or tactile warnings before they actually fail, but you have to know where to look.
The first thing I look for is what I call the seam check, and I focus on the fold lines. I look right along the stitch line at the bend and I watch for tiny pale specks that look like white dots showing through at the fold. What that usually means in practice is the fabric is starting to pull away from the stitch holes, and the thread is beginning to “stand proud” instead of sitting buried in stable fabric. If you see that starting, I stop folding that section as much as possible and I treat it as a sign to baby that hinge, because the next stage is the seam opening up.
Then I do a smell test, and I do it on the bottom, not the top. Because these sit on the floor, they can trap a thin layer of moisture from mopping, humid basements, wet socks, or just a rug pad that never fully dries out. I put my nose close to the underside seam area and I check for that faint mildew scent that is easy to ignore until it becomes a permanent odor. If you catch it early, sometimes simply getting airflow under it and letting it fully dry fixes it, but once the smell lives in the foam, you are usually stuck.
The last check is zipper friction, because once a zipper starts binding, people start yanking, and yanking is where sliders break and zipper tape tears. About once a year, if you actually use the zippers, I would apply a silicone zipper lubricant very lightly and then zip and unzip slowly to spread it. I am not trying to make it “slick,” I just want to reduce that gritty resistance that makes you pull harder than you should, especially on big foam blocks where the cover is heavy and the zipper is already working under load.